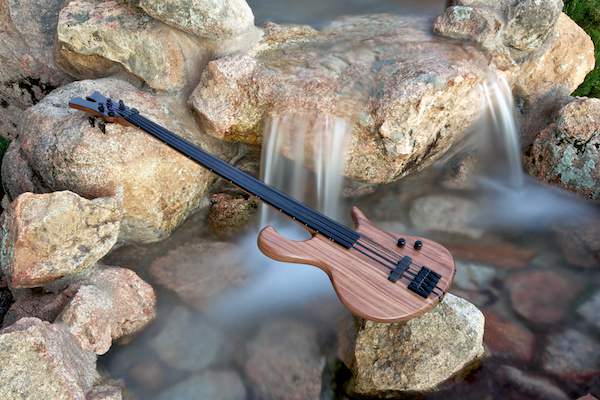
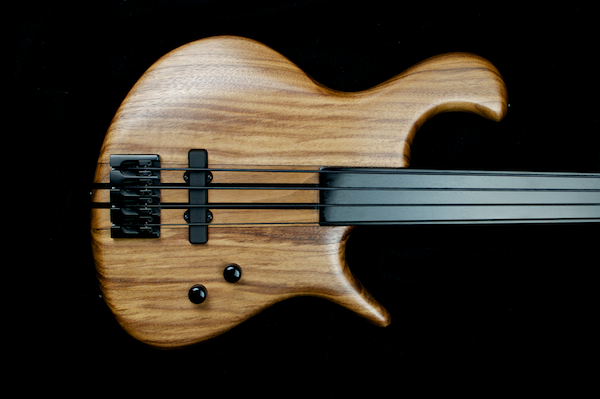
4 String
Ebony Fretless Fretboard
Walnut Body
Walnut/Ebony Neck Through
Hipshot A Style Bridge
Gotoh Tuners
Bartolini Pickup
All Black Hardware
October 14, 2010
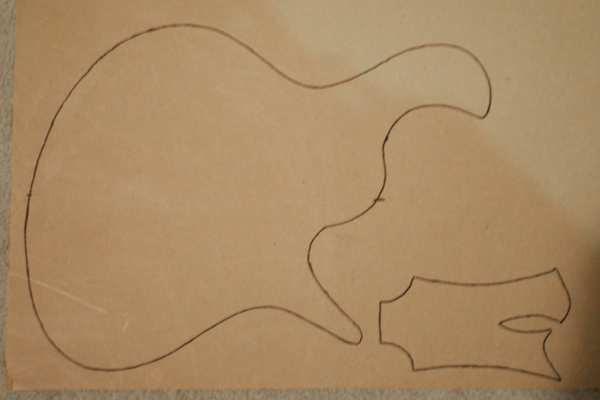
I made the design on MDF.
October 31, 2010
The template has been cut out so you can see the rough proportions of everything. It’s been awhile since I’ve done a 4 string, so itseems really small to me!

November 15, 2010
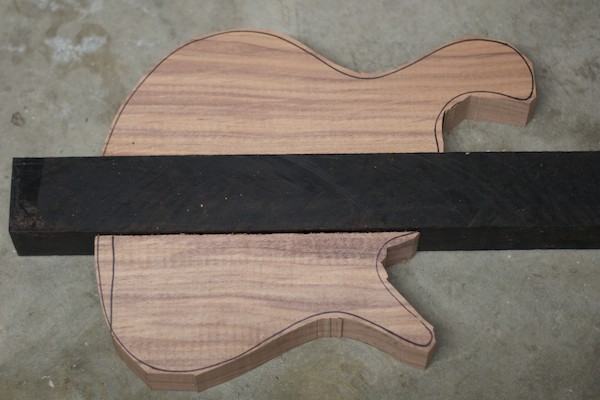
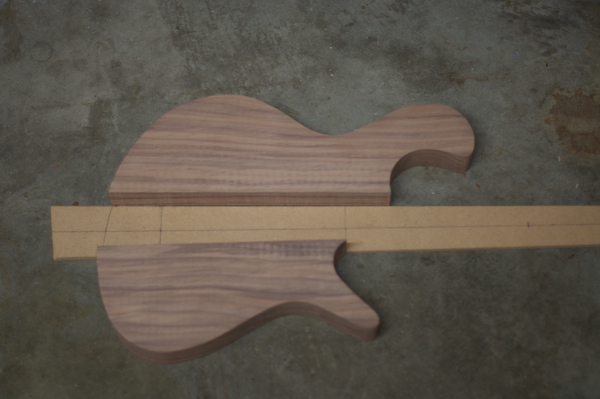
I am in the process of buying all the wood and parts for this bass, but I was able to rough cut the body out. It is really rough because I was using the resaw blade on the bandsaw.
November 16, 2010
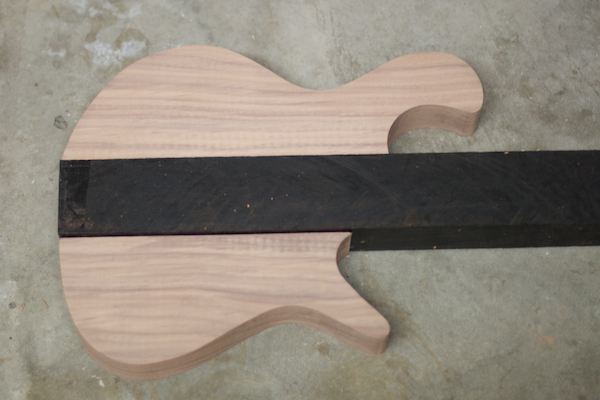
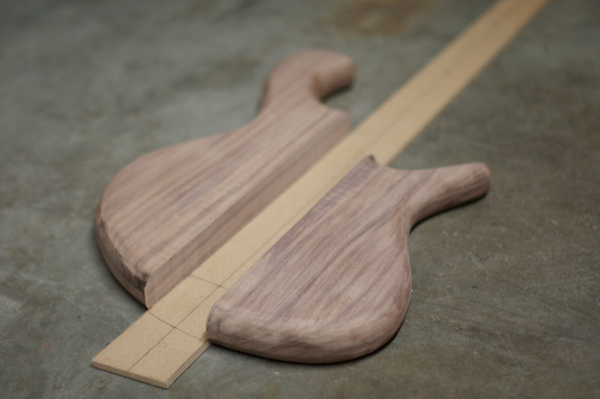
The body wings have been sanded down and smoothed out.
November 18, 2010
The body wings are down to 1-1/2″ instead of 2″. That gave me a nice slice to use as a continuous grain control cavity cover. I also rounded over the edges, the burning will sand out.
November 29, 2010
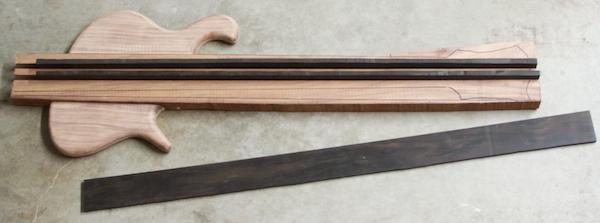
Since my planer has been down, I haven’t been able to make the neck laminate as quickly as I would have liked. The ebony still needs to be thinned down to about 1/4″ and then I can glue it all together.
November 30, 2010
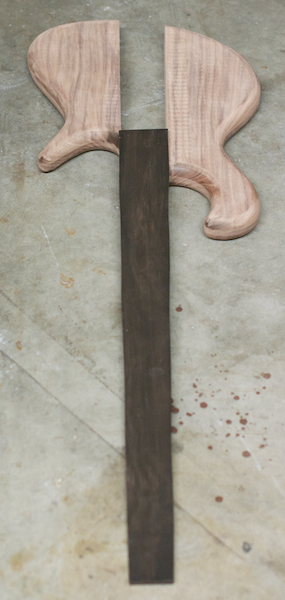
Fretboard rough trimmed and thicknessed.
December 9, 2010
I finally got the parts in to fix my planer… I was able to plane down the ebony and walnut so that I could glue up the neck laminate.
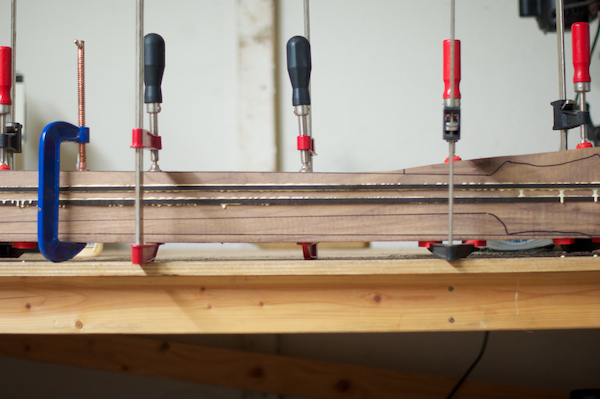
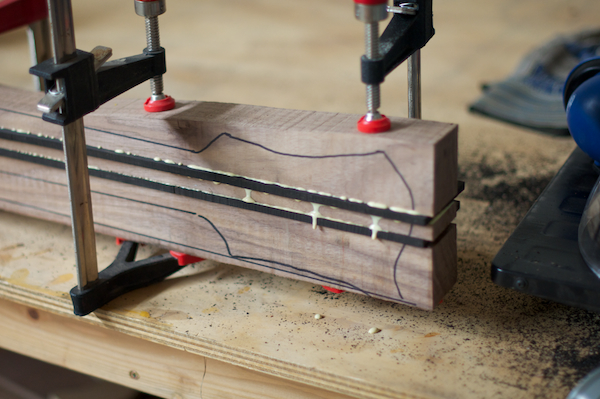
December 12, 2010
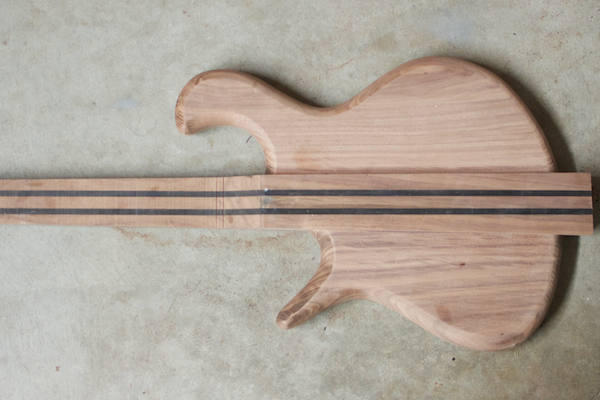
It was a fairly productive weekend for this bass. I was able to glue the neck laminate up, rough cut out the neck taper, headstock and back of neck.
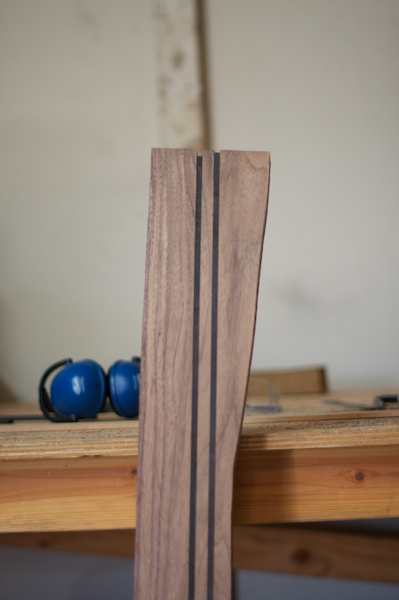
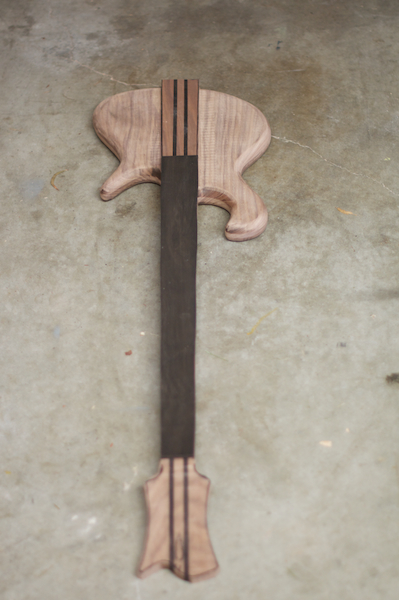
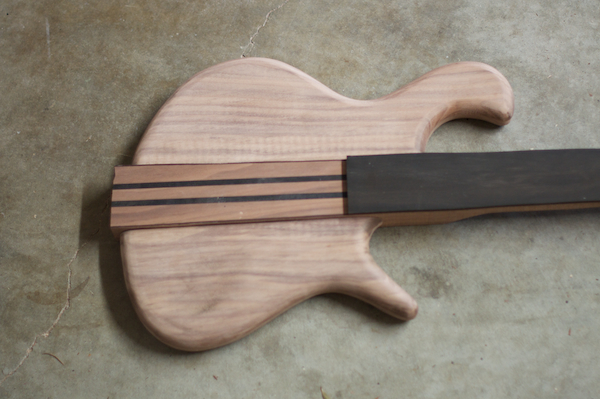
December 21, 2010
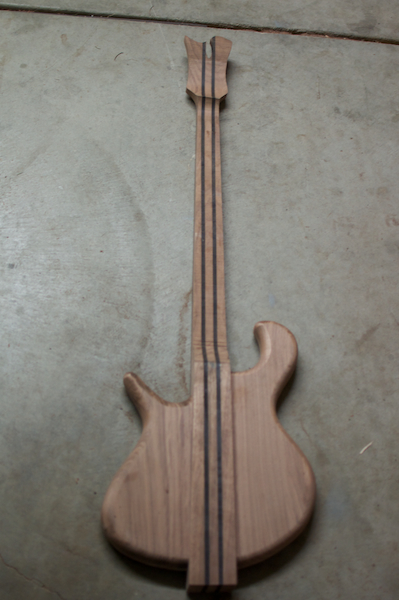
The neck has been cut to its final width/taper, the truss rod channel has been routed, truss rod and fretboard glued on and headstock rough shaped. Next will be neck shaping and side dot markers.
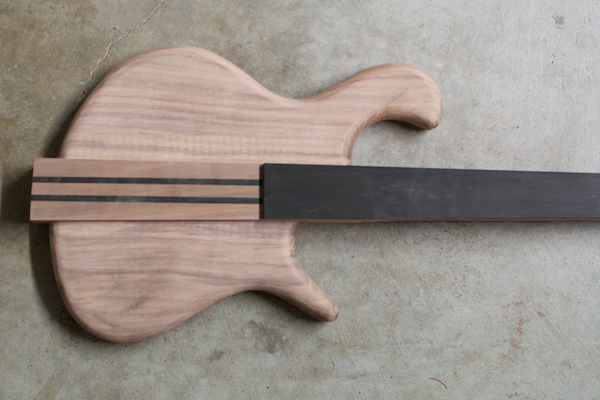
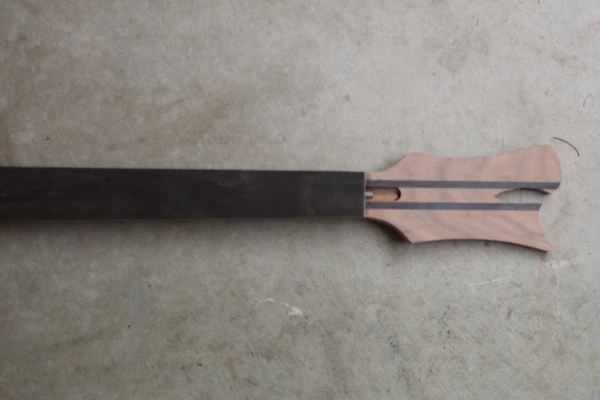
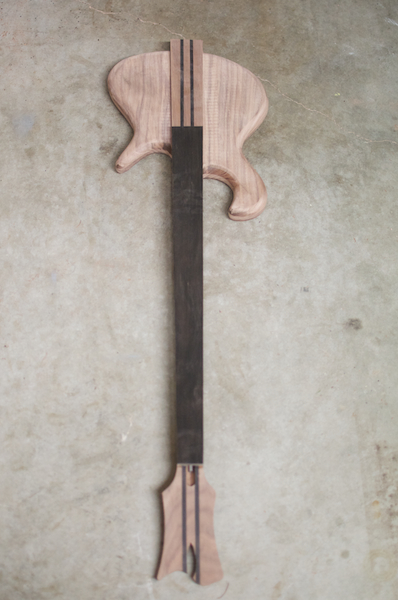
December 22, 2010
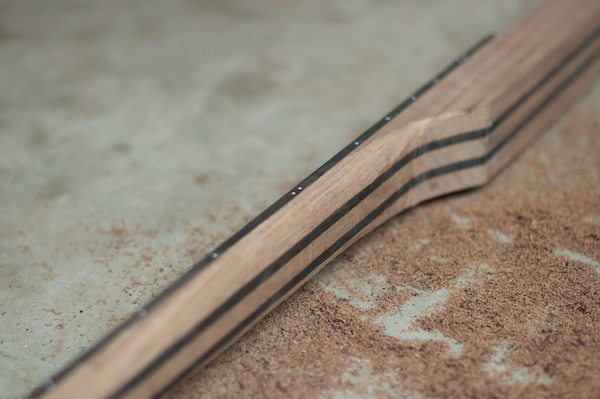
Side dot markers in, neck rough shaped.
December 28, 2010
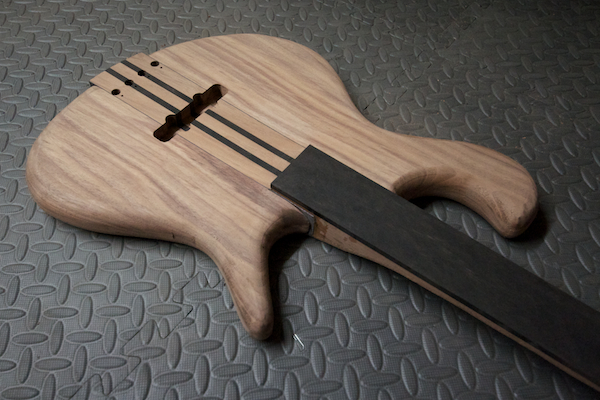
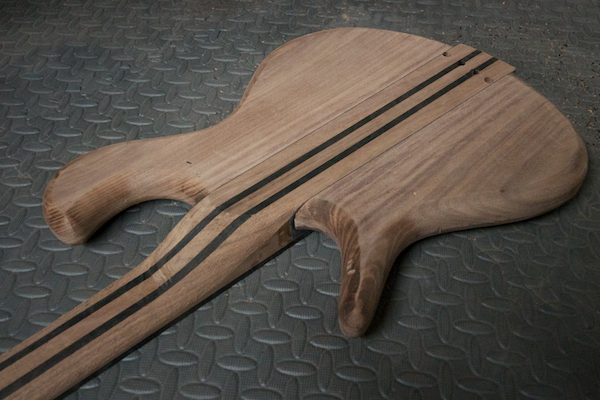
I hope everyone had a great Christmas, I know I did! I got a Dewalt Random Orbit Sander, which should definitely help with the sanding process. The holiday also gave me a chance to get some work done on this bass. I glued the body wings to the neck, drilled tuner holes, drilled string through holes and bridge screws, routed pickup cavity and started the heel transition. Next comes the control cavity (I have to do a custom one due to the body shape), headstock veneer and more neck shaping.


December 31, 2010
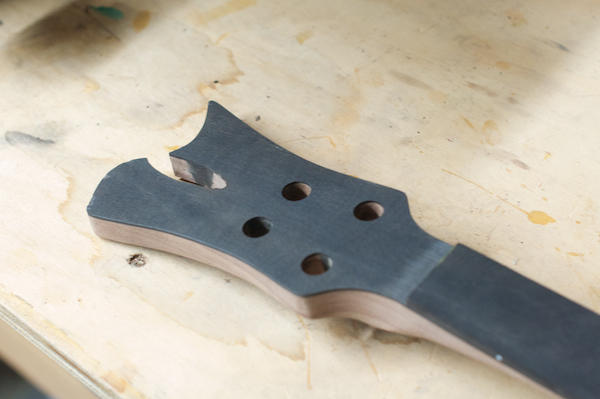
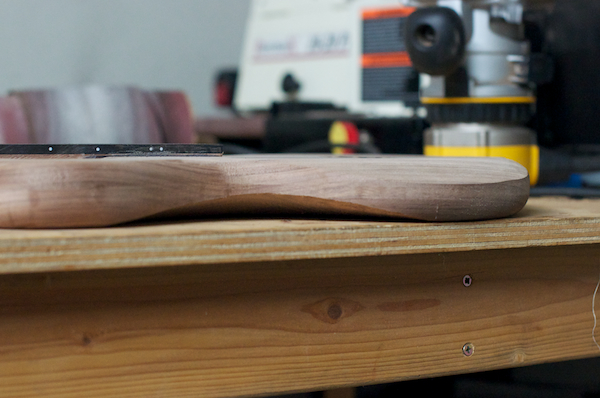
Ebony headstock veneer has been glued on and I have started shaping the body contours.
January 7, 2011
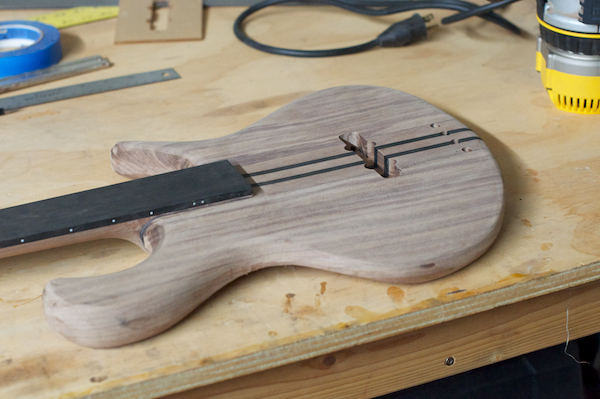
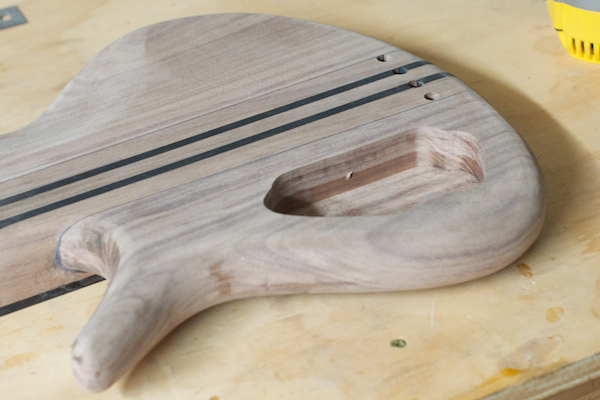
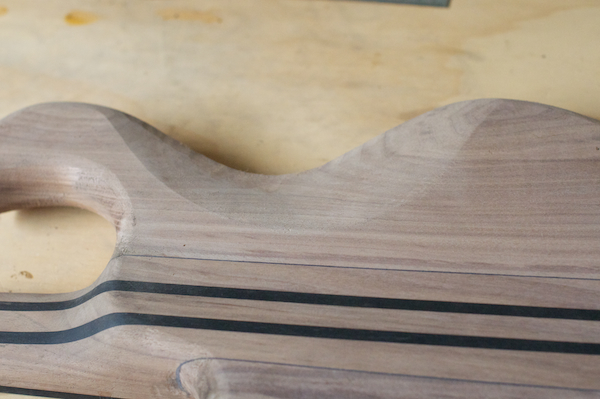
It’s been a rough week being sick, but I was able to make some progress with the control cavity and more shaping various other places. I also ordered a new tool to allow me to do the control cavity cover a lot easier.
January 17, 2011
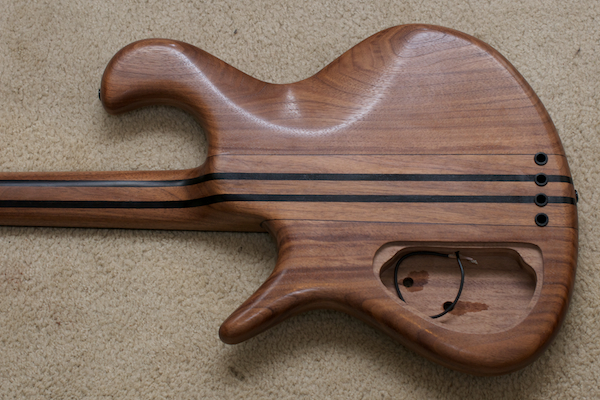
I was able to use my new inlay guide on the router to make a really tight fitting control cavity cover. I didn’t have enough extra wood to make it a continuous grain cover though.
January 24, 2011
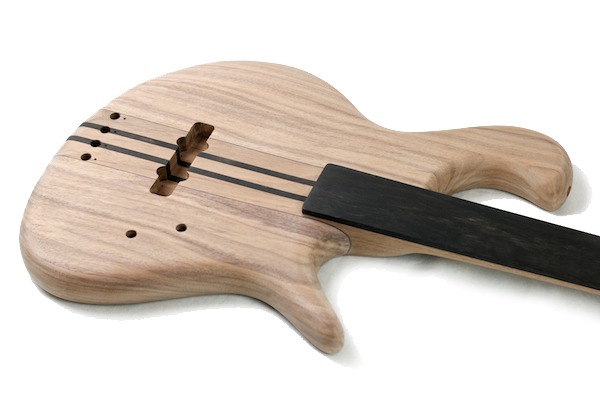
Ready for some tung oil!!
January 30, 2011
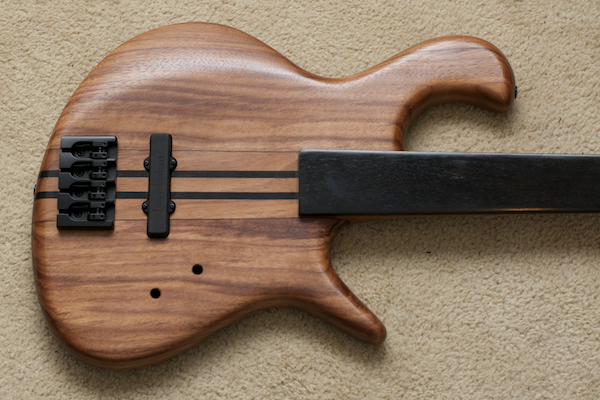
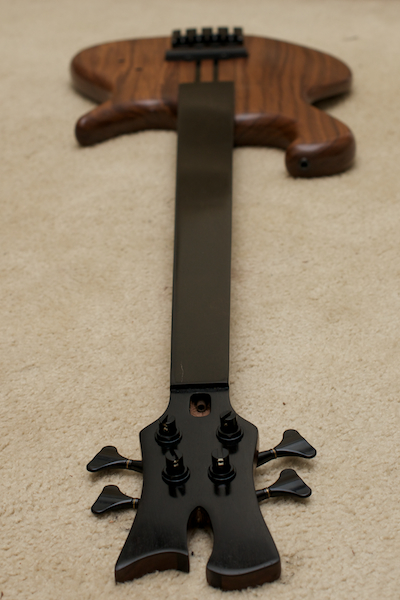
Tung oil and wax finish is done and I am fitting all the parts. Still a bit more work on the control cavity, cover, truss rod cover, finishing, etc.
February 4, 2011
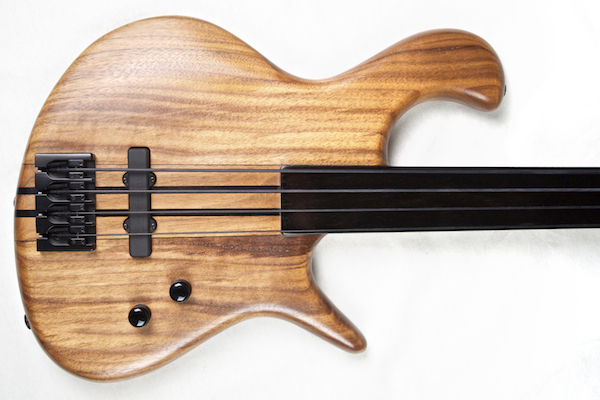
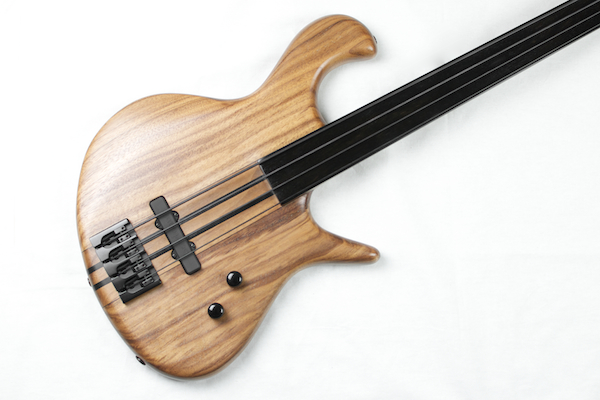
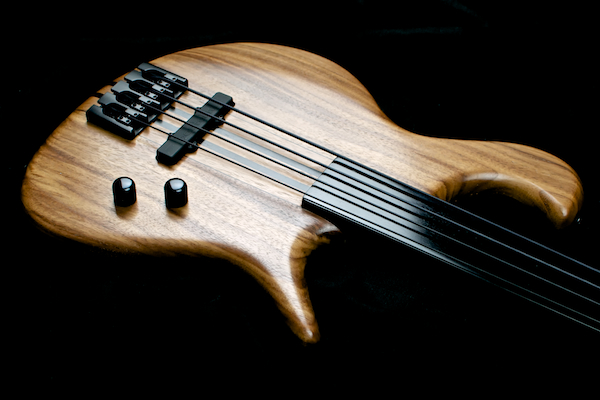
I got the electronics done and I am just finishing up the control cavity and truss rod covers. Then I have a final setup and final pictures. I took the ones that I could now, but decided to use my film slr for most of them, so I won’t have those for awhile. Here is a teaser for now.
February 13, 2011
The much anticipated waterfall shot!
